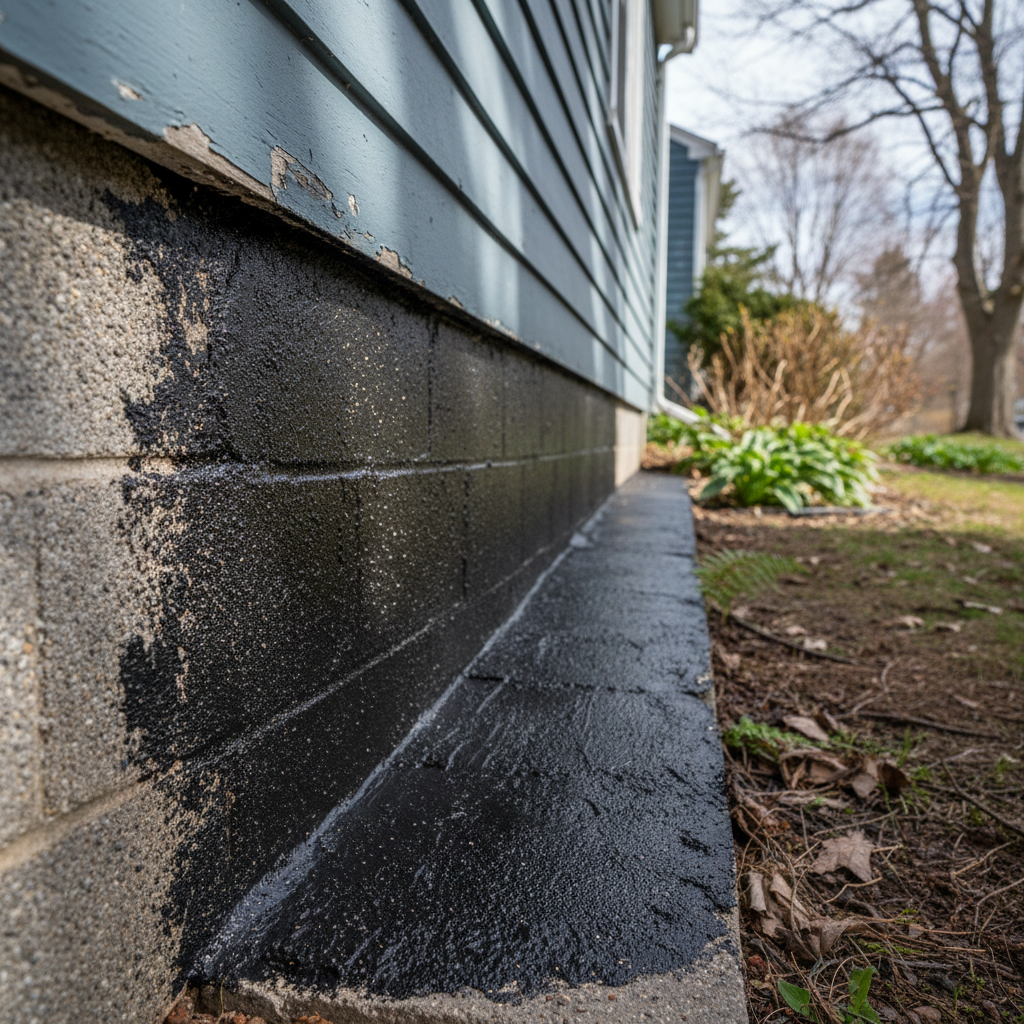
Water is the absolute enemy of brick, stone, and mortar. If you live around Newton, you already know what our New England weather does to masonry. Between the freezing winter nor'easters, heavy spring rains, and the damp soil conditions found in villages down near the Charles River, moisture gets into every tiny pore and cracks your walls from the inside out.
Ace Masonry Co receives calls every single season from homeowners trying to figure out how to stop damp basements and crumbling brick facades. Masonry Waterproofing is not just about slapping a coat of paint on a wall. You need a real plan before, during, and after the project to make sure your money actually protects your home.
Before You Start: Assessing the Damage and Prep Work
Before you buy a single bucket of sealer, figure out where the water is actually coming from. Walk around your house and check the exterior walls. Do you see powdery white salt deposits, which we call efflorescence? Are your mortar joints looking sandy or hollow? If you can dig the mortar out with a screwdriver, no amount of waterproofing spray is going to save that wall. You need tuckpointing first.
Realistically, here is how you can prep things yourself:
- Clear out all dirt, debris, and plantings touching your brickwork
- Wash the masonry thoroughly using a gentle garden hose or low-pressure washer
- Test the absorption rate by splashing a little water on the brick to see if it soaks right in
If the masonry is structurally sound and just soaking up driving rain, you are a good candidate for a topical breathable sealer. If water is pooling against your foundation because of poor grading, grab a shovel and redirect that slope away from the house before doing anything else.
During the Project: Application and What You Can DIY
Timing matters more than people think. You cannot waterproof masonry when it is freezing outside, and you should not do it right after a heavy rainstorm either. The brick needs a few days of dry weather to dry out completely, or you will trap moisture inside the wall, which leads to spalling when winter temperatures drop below freezing.
Can you apply a clear silane-siloxane sealer yourself? Absolutely. If you have a single-story brick veneer or a stone porch, you can rent a low-pressure sprayer or use a heavy-duty roller. Just follow the manufacturer instructions to the letter and apply it from the bottom up so you do not miss spots.
However, you need to hand things over to a pro if you are dealing with below-grade foundation waterproofing, failing fieldstone foundations on older Newton Colonials, or walls actively leaking water during heavy storms. That requires heavy-duty exterior membranes or interior drainage systems that go beyond a simple weekend DIY project.
After the Project: Maintenance and Long-Term Care
Once your masonry is sealed, your job is not done forever. Water always finds a way eventually. Plan on inspecting your exterior walls every fall before the first freeze hits. Check your gutters and downspouts to make sure they are dumping water far away from your masonry walls. If you notice the water no longer beads up on the brick after three to five years, it is time to reapply a fresh coat of breathable sealer.
Keeping up with small maintenance items saves you from massive repair bills down the road. Take care of minor cracks and deteriorating mortar early, and your home will stay solid for 15 to 20 years or more.